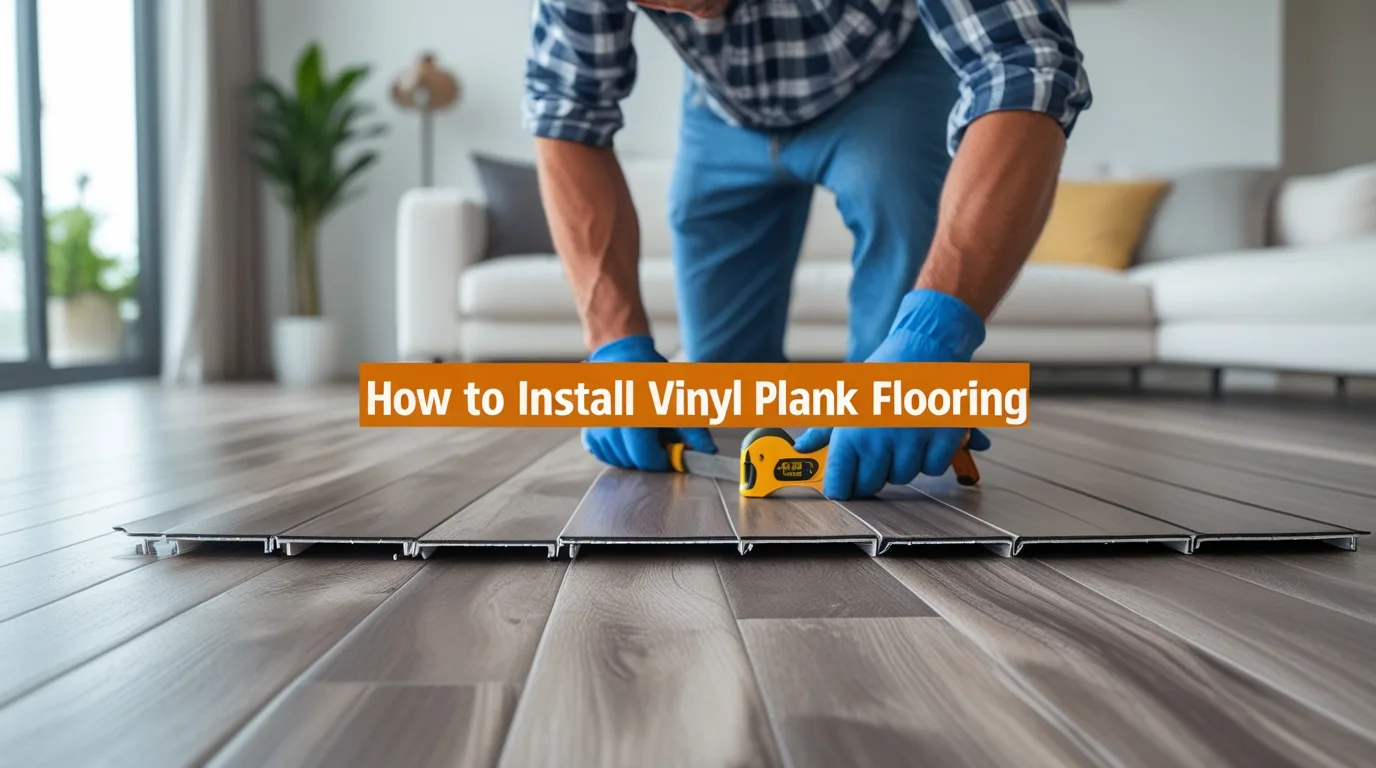
Installing vinyl plank flooring is a great way to update your home with a stylish and durable floor option. Whether you’re remodeling a room or updating your space, how to install vinyl plank flooring can seem like a daunting task, but it doesn’t have to be. This guide will take you through the process step by step, providing all the tips and techniques you need to complete your project. Vinyl plank flooring is easy to install and offers a beautiful, long-lasting finish. Let’s get started with everything you need to know!
How to Install Vinyl Plank Flooring
When you’re looking to update your home, how to install vinyl plank flooring is a popular question for many homeowners. Vinyl plank flooring is an excellent choice for those who want a durable, stylish, and easy-to-maintain option for their floors. Whether you’re planning a full remodel or just updating a room, installing vinyl plank flooring can be a rewarding and cost-effective project. In this guide, we’ll walk you through the steps of installing vinyl plank flooring, making the process simple and understandable for everyone.
Why Vinyl Plank Flooring is a Great Choice for Homes in North Idaho
Vinyl plank flooring is quickly becoming a favorite in homes across North Idaho. With the area’s changing weather, vinyl plank flooring offers a durable and water-resistant option, making it perfect for areas that experience varying temperatures and humidity. Whether it’s in your kitchen, bathroom, or living room, vinyl plank flooring is versatile and easy to maintain, with a range of designs to fit any style.
Additionally, vinyl plank flooring is affordable and easy to install, making it a popular choice for DIY home projects. It’s also much quieter than other flooring options like tile or hardwood, making it ideal for spaces where noise is a concern.
What is Vinyl Plank Flooring and How Does it Compare to Other Flooring Options?
Vinyl plank flooring is a synthetic material designed to look like natural wood, tile, or stone, but it’s much more affordable. Unlike traditional hardwood, vinyl planks are made from layers of PVC, which makes them resistant to water, scratches, and stains.
When you compare vinyl plank flooring to other materials, here’s how it stacks up:
- Wood:
Vinyl plank is more affordable and easier to install, and it’s resistant to moisture.
- Tile:
Vinyl plank is softer underfoot and more comfortable, while tile can be cold and hard.
- Carpet:
Vinyl plank is more durable and easier to clean than carpet, which can stain easily and harbor allergens.
Preparing Your Space: What You Need to Know Before Installing Vinyl Plank Flooring
Before diving into the installation, preparation is key. A clean, flat surface is essential for a successful vinyl plank floor installation. Here’s what you’ll need to do:
- Clear the Room:
Remove any furniture, rugs, or obstacles from the area where you’ll be installing the flooring.
- Check the Subfloor:
Ensure your subfloor is clean, dry, and level. If there are any bumps or holes, they should be repaired before installation.
- Acclimate the Vinyl Planks:
Allow the vinyl planks to acclimate to the room temperature for at least 24 hours before you begin laying them.
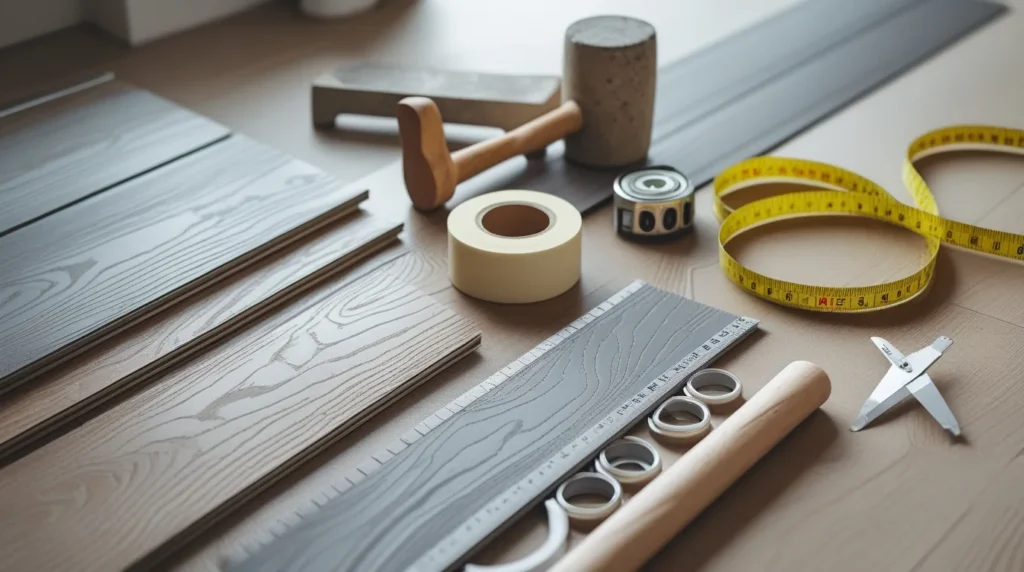
- Gather Tools:
Make sure you have the right tools, including a tape measure, utility knife, spacers, and a mallet. These are essential for cutting and fitting the planks properly.
Step-by-Step Guide: How to Install Vinyl Plank Flooring
Here’s a simple, step-by-step guide on how to install vinyl plank flooring:
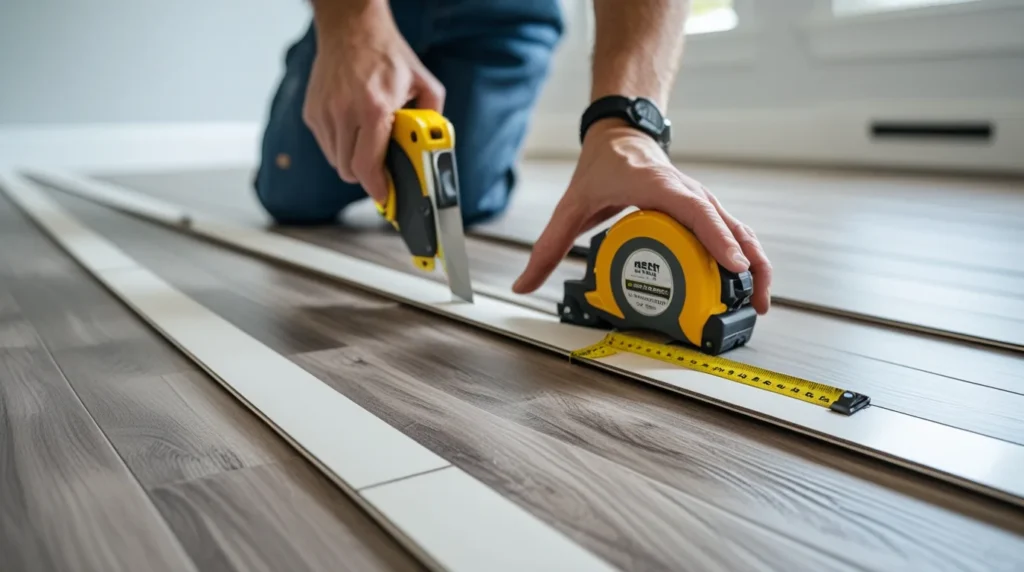
1. Measure the Area
Start by measuring the room’s dimensions. This will help you determine how many planks you’ll need to cover the area. Always order a bit extra to account for mistakes or future repairs.
2. Lay the First Row
Begin in one corner of the room and lay the first row of planks with the tongue side facing the wall. Make sure there’s a small gap between the planks and the wall (about 1/4 inch) to allow for expansion.
3. Cut the Planks
Use a utility knife to cut the vinyl planks to fit the remaining space in the row. If necessary, you can score the plank with the utility knife and snap it to the correct size.
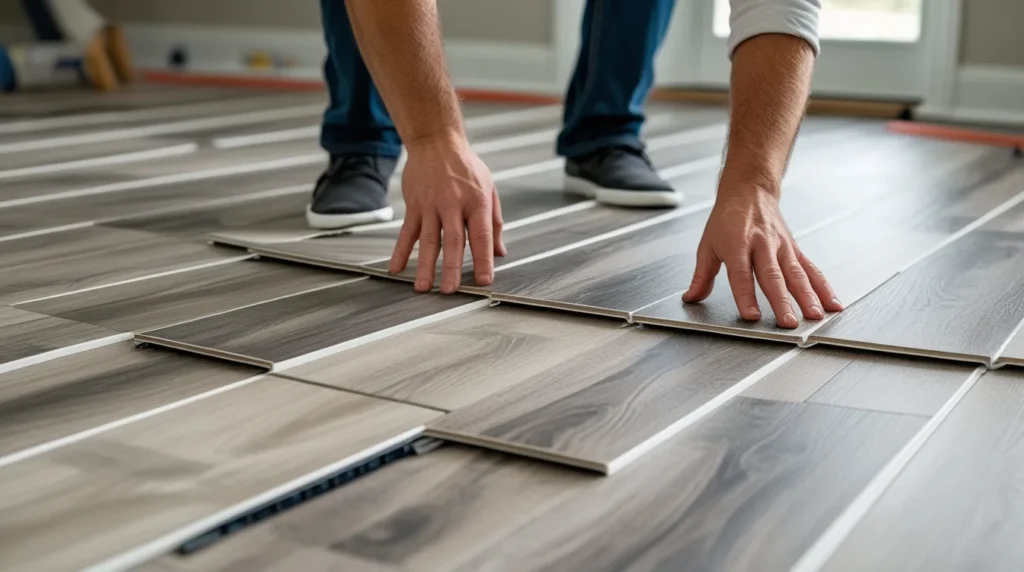
4. Install the Remaining Rows
Continue laying the next rows, ensuring that the seams of the planks are staggered for a more natural look. Connect each plank by clicking the tongues and grooves together, and use a mallet to tap them into place if needed.
5. Trim the Edges
Once all the planks are in place, use a utility knife to trim any excess along the edges of the room. Be sure to leave the expansion gap around the walls.
6. Final Step: Install the Trim
Once the planks are securely in place, install baseboards or trim to cover the expansion gap around the edges of the room. This will give the floor a clean, finished look.

How to Lay Vinyl Plank Flooring: A Clear and Simple Approach
Laying vinyl plank flooring is a straightforward process, especially when you follow the steps carefully. Start by laying planks along the longest wall of the room to create a consistent flow. Ensure that each plank is tightly locked into place, as gaps can lead to an uneven floor over time.
For added precision, use spacers along the walls to ensure there’s a consistent gap between the floor and the wall. This will help prevent any issues with expansion when the floor contracts or expands due to temperature changes.
How to Install Vinyl Plank Flooring on Concrete: Essential Tips
Installing vinyl plank flooring on concrete is a great way to add comfort and style to a space like a basement or garage. However, concrete can be challenging to work with. Here’s what you need to do:
Ensure the Concrete is Clean and Dry:
Concrete should be free of dust, debris, and moisture before installing vinyl planks. If there’s any moisture in the concrete, you may need a moisture barrier.
Level the Surface:
Check for any imperfections or cracks in the concrete and patch them up to ensure a smooth surface.
Use the Right Adhesive:
Some vinyl plank flooring options require glue-down installation. Be sure to choose an adhesive that is compatible with both your flooring and concrete.
Installing Vinyl Plank Flooring in a Bathroom: Key Considerations
Bathrooms are high-moisture areas, so it’s essential to install vinyl plank flooring correctly to prevent damage. Here’s what you need to know:
- Use Waterproof Vinyl:
Choose vinyl planks that are specifically designed for bathroom use. Waterproof vinyl will prevent mold and mildew growth.
- Leave Expansion Gaps:
Even in a bathroom, it’s important to leave small gaps around the edges for expansion.
- Seal the Edges:
To further protect your flooring, seal the edges around the perimeter of the bathroom with silicone caulk. This will help prevent water from seeping under the planks.
Vinyl Plank Flooring Patterns: How to Choose the Right Layout for Your Room
When laying vinyl plank flooring, the layout and pattern you choose can have a big impact on the room’s appearance. Some popular patterns include:
- Straight Lay
This is the simplest layout, where planks are laid in straight lines.
- Diagonal Lay:
Planks are laid at a 45-degree angle, which can make a small room feel bigger.
- Herringbone:
This pattern is more intricate and adds a sophisticated touch to any room.
Tips for Installing Vinyl Plank Flooring: What You Should Know Before You Start
Here are a few pro tips to help make your vinyl plank flooring installation easier:
- Work in Small Sections:
It’s easier to handle smaller sections of planks rather than trying to work with large pieces at once.
- Use a Rubber Mallet:
A rubber mallet can help you tap the planks into place without damaging the edges.
- Double-Check Your Measurements:
Always measure twice and cut once to ensure a perfect fit.
Common Mistakes to Avoid When Installing Vinyl Plank Flooring
While installing vinyl plank flooring is simple, there are a few common mistakes you should avoid:
- Not leaving enough expansion space around the edges of the room.
- Not ensuring the floor is level before starting the installation.
- Cutting planks incorrectly can waste materials.
Final Step to Installing Vinyl Plank Flooring: How to Complete the Job Like a Pro
Once your planks are laid and securely locked in place, it’s time for the final touches. Install the trim or baseboards to cover the expansion gaps, and check the floor for any issues. If everything looks good, you’ve completed your vinyl plank flooring installation!
Conclusion
Installing vinyl plank flooring is a manageable DIY project that can bring new life to any room. By following the right steps from preparing your space to choosing the right layout, you can achieve professional-looking results without the hassle. Remember, careful planning, the right tools, and patience are key to a successful installation. Whether you’re upgrading your living room, bathroom, or kitchen, vinyl plank flooring offers a cost-effective, durable, and stylish solution.
If you’re ready to transform your floors but need a little extra help, WattsBuilt is here to assist with expert installation services. Serving North Idaho, we ensure that your vinyl plank flooring is installed correctly, leaving you with a beautiful, long-lasting floor. Contact us today for a consultation!